
This and the first post are about the previous iteration of my website. Additionally, When I originally made this post, my domain was ggarcia.xyz. I’ve since changed it to garcia.casa, and have updated all references to reflect this change.
Introduction
In Part I, I setup a VPS instance of Ubuntu Server 20.04, configured a simple firewall, nginx, and the static site generator Hugo. In this post, I make my website reasonably secure using the Electronic Frontier Foundation’s Certbot to setup ssl, configure server headers, and create a native Tor onion service.
Certbot
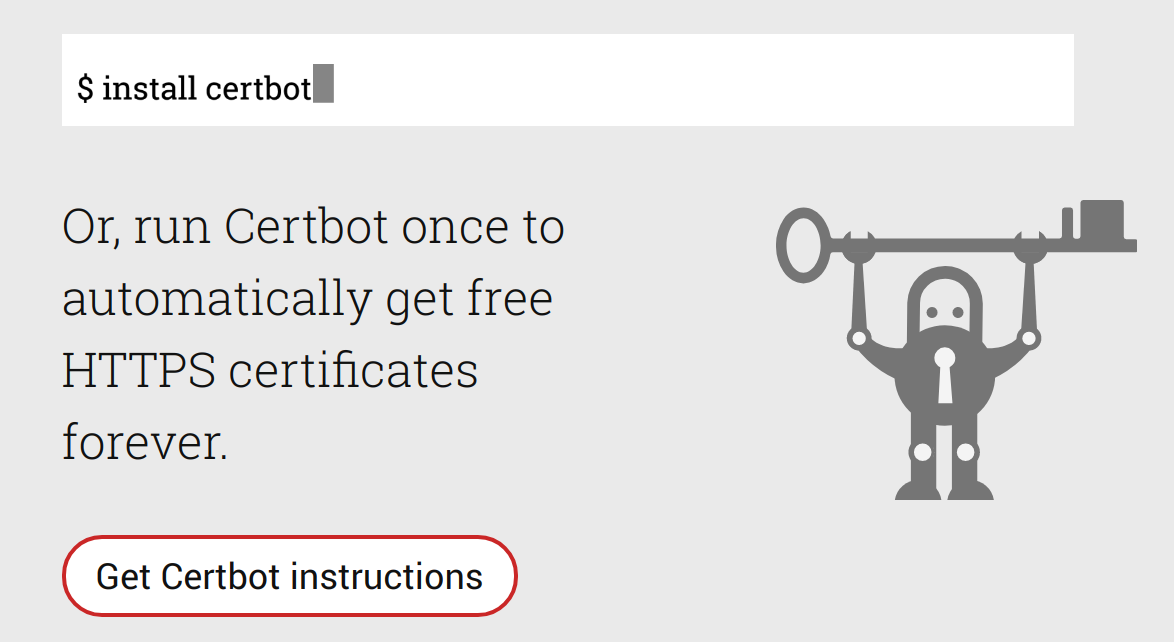
On the certbot website, get the instructions specific to your server software and operating system. In my case, Nginx and Ubunter 20.04. Per the instructions, I installed Certbot through snap, though you can find their alternative installation instructions here.
Check snapd version
First, I made sure I had the latest version of snapd on my VPS:
sudo snap install core; sudo snap refresh core
Install
Then I ran the command to install certbot:
sudo snap install --classic certbot
Prep Command
We need a symlink to properly run the certbot command. I ran the following to do just that:
sudo ln -s /snap/bin/certbot /usr/bin/certbot
Run and Test Certbot
With certbot, you can either simply get a certificate and manually make changes to your Nginx config, or you can let Certbot do all this automaticaly. I opted for the latter. This turns on “HTTPS in a single step”, per the instructions. Truly painless.
sudo certbot --nginx
Next, I tested automatic renewel. As stated by the Certbot instructions,
# The Certbot packages on your system come with a cron job or systemd timer that
# will renew your certificates automatically before they expire.
# You will not need to run Certbot again, unless you change your configuration.
# You can test automatic renewal for your certificates by running this command:

sudo certbot renew --dry-run
I can now navigate to https://garcia.casa and see the lock icon:

Success! I now had an ssl certificate for my site. Next, I wanted to add native Tor support for those using Tor browser.
Adding Tor Support
This section was surprisingly straight-forward. I relied heavily on Seth Simmons’s guide (here is the clearnet link; here is the Tor link). I also highly recommend reading the official Tor documentation.
Install
First, I installed Tor:
sudo apt install tor
Edit Tor config
Next, I edited the torrc config file that can be found at /etc/tor/torrc, using vim. I added the following lines.
HiddenServiceDir /var/lib/tor/garcia.casa/
HiddenServiceVersion 3
HiddenServicePort 80 127.0.0.1:80
The HiddenServiceDir line specifies the directory containing information and cryptographic keys for the onion service. The directory to which HiddenServiceDir is pointing, is readable/writable by the user running the service on my server.
The HiddenServiceVersion line is rather self-explanatory: it indicates we want a v3 onion (hidden) service.
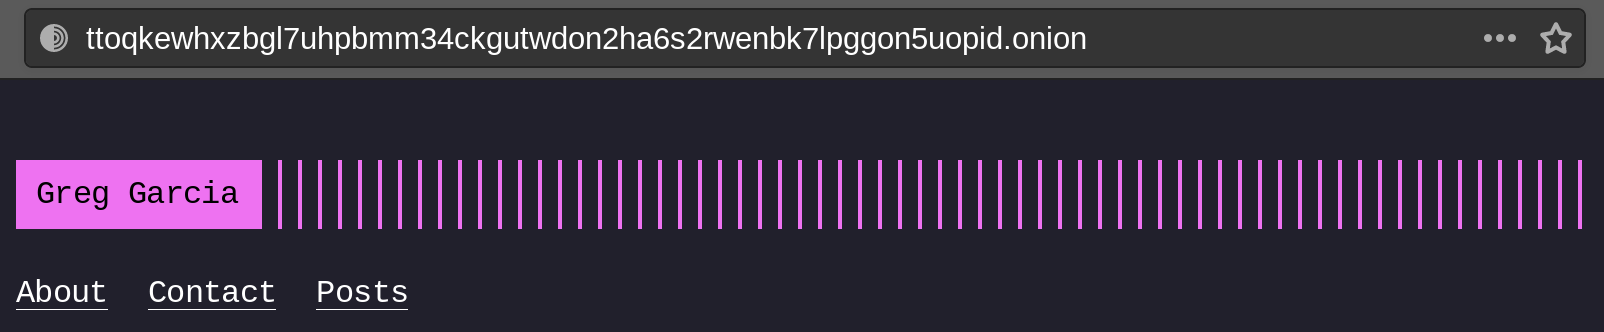
Per the documentation, the HiddenServicePort line indicates the virtual port, i.e., the port that users visiting ttoqkewhxzbgl7uhpbmm34ckgutwdon2ha6s2rwenbk7lpggon5uopid.onion will be using.
Something I will consider implementing in the future: running my onion service over Unix sockets instead of a TCP socket. This is a suggested Tip in the official Tor docs.
I then restarted tor:
sudo systemctl restart tor
Now I needed to add another server block to my Nginx configuration. A couple of things I needed to do:
- Get the .onion hostname for my v3 onion service, using the concatenate command
- Then add the .onion hostname to my new Nginx server block
- Create a separate tor_config.yml file for Hugo, with
publishDirset totor, andbaseUrlset to my .onion domain
To get my .onion domain using cat command:
cat /var/lib/tor/garcia.casa/hostname
ttoqkewhxzbgl7uhpbmm34ckgutwdon2ha6s2rwenbk7lpggon5uopid.onion
Next, I add this .onion hostname to a new server block in my Nginx config:
server {

    listen 127.0.0.1:80;
    server_name ttoqkewhxzbgl7uhpbmm34ckgutwdon2ha6s2rwenbk7lpggon5uopid.onion

    root /var/www/garcia.casa/tor/;
    index index.html;
    error_page 404 = 404.html;
    location / {

    try_files $uri $uri/ =404;

    }

}
Before restarting Nginx I added a new file, tor_config.yml, with the previously mentioned lines:
baseUrl: http://ttoqkewhxzbgl7uhpbmm34ckgutwdon2ha6s2rwenbk7lpggon5uopid.onion
publishDir: 'tor'
Now I can run the hugo command with the --config switch and passing tor_config.yml as a parameter:
hugo --config tor_config.yml
which gives an output like
                   | EN
-------------------+-----
  Pages            | 17
  Paginator pages  |  0
  Non-page files   |  0
  Static files     | 19
  Processed images |  0
  Aliases          |  5
  Sitemaps         |  1
  Cleaned          |  0

Total in 133 ms
Finally, I restart Nginx by running the command sudo systemctl restart nginx, and navigate to ttoqkewhxzbgl7uhpbmm34ckgutwdon2ha6s2rwenbk7lpggon5uopid.onion using Tor browser, and I see this:
…which means it worked!
Add Server Header for Tor Browser
Additionally, I want users who visit my clearnet site using Tor browser (or Brave browser) to have the option to switch to the .onion domain. That is, I want Tor browser to indicate to the user that there is an “.onion available”. Simply adding the following header to the https clearnet server block does the trick:
add_header Onion-Location http://ttoqkewhxzbgl7uhpbmm34ckgutwdon2ha6s2rwenbk7lpggon5uopid.onion$request_url;
Now, when users navigate to my clearnet site using Tor browser, they should see the following:

Add More Server Headers
Now that my website was running on both clearnet and tor, I wanted to make it reasonably secure by adding some headers to my server blocks. To start, I went to the Observatory by Mozilla, which helps people “configure their sites safely and securely”.
Observatory by Mozilla
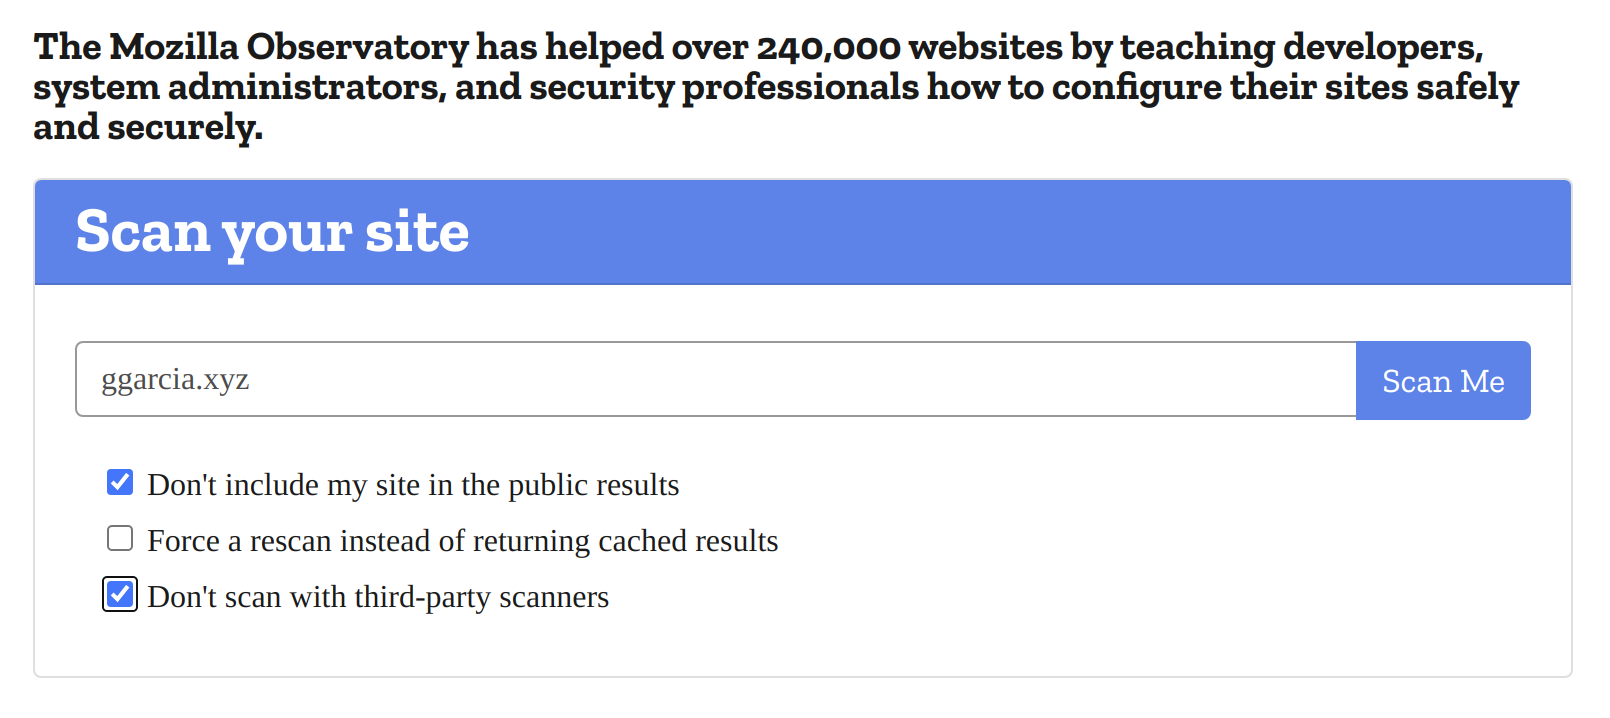
I checked “Don’t include my site in the public results” and “Don’t scan with third party scanners”. I then click “Scan Me”.
My results were poor since I had yet to add any headers to my server blocks, apart from the tor header from the previous section. I spent quite a while reading over documentation that Mozilla makes available, and tried my best to address each issue found in the scan report. I added the following headers:
- Strict-Transport-Security
- Content-Security-Policy
- X-Frame-Options
- X-Content-Type-Options
- X-XSS-Protection
- Referrer-Policy
- Permissions-Policy
Their implementation in my Nginx configuration is below:
server {

    server_name garcia.casa;

    ...

    # HSTS (ngx_http_headers_module is required) (63072000 seconds)
     add_header Strict-Transport-Security "max-age=63072000" always;

     # Block site from being framed with X-Frame-Options and CSP
     add_header Content-Security-Policy "frame-ancestors 'none'; default-src 'none'; img-src 'self'; script-src 'self'; style-src 'self'; form-action 'none'; base-uri 'none'";
     add_header X-Frame-Options "DENY";

     # Security Headers
     add_header X-Content-Type-Options "nosniff" always;
     add_header X-XSS-Protection "1; mode=block";

     # Privacy Headers
     add_header Referrer-Policy "no-referrer";
     add_header Permissions-Policy "accelerometer=(), camera=(), geolocation=(), gyroscope=(), magnetometer=(), microphone=(), speaker=(),   usb=(), vibrate=(), sync-xhr=()";

     ...

}
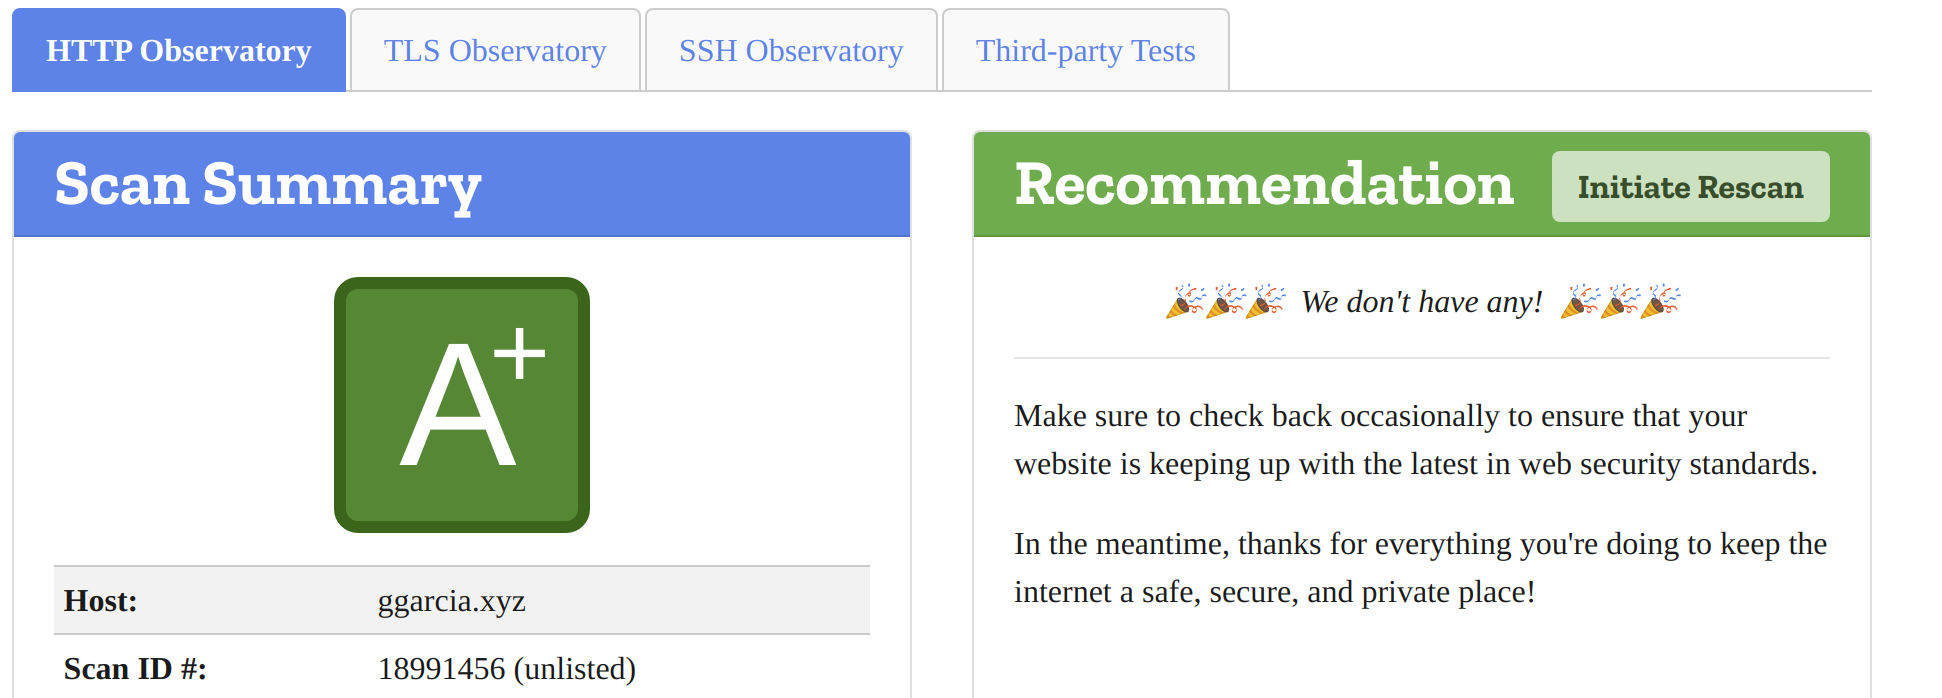
I then rescanned my site on the Mozilla Observatory, this time check the box next to “Force a rescan instead of returning cached results”. This time, I was greeted with a lovely “A+”:
ALL CAPS? All good.
Frustratingly, when I load https://garcia.casa in Firefox or Brave, the font is all caps:

Upon inspection, I came across the following error:

So, my Content Security Policy (as you can see from my Nginx configuration above) does not specify a font-src parameter. Thus, the fallback default-src 'none' is used, and the Hugo Terminal theme font isn’t loaded, leaving me with all caps!

Fortunately, this was an easy fix. I simply went back to the Content Security Policy in my Nginx configuration, and added font-src 'self'. Then, after running sudo systemctl restart nginx once more, the correct font loads and the error is gone.
Conclusion - Next Steps
That concludes Part II of how I created this website. A couple of issues I’d like to explore further:
Serving my onion service over Unix sockets instead of a TCP socket
Address other miscellaneous browser console errors, most of which relate to the content security policy header
Add LaTeX support for math/physics/technical-related posts
If you’ve made it this far, thanks for taking the time. Contact me via Twitter or email if you have questions or comments.